
AI prepares your payments – you approve them
Create a personal access token in Paysera online banking – free, in a few minutes, and with no developer. Connect an AI assistant – it prepares the payment, and you approve it.
One token for your tools and your AI assistant
Other providers give you either an API token or an AI tool. Paysera gives you both: a self-service access token for your personal and business accounts, and an official AI agent skill that is ready to use straight away.
How does it work?

Create a token
In a few minutes, choose which accounts the token can access and what it can do with them.

Connect the assistant
Install the Paysera Payments skill in your AI assistant (for example, Claude), or use the token with your own system through the public Paysera Transfer API.

The assistant prepares, you sign
The AI reads your invoices and prepares draft payments. The money only moves once you log in yourself and confirm the payment with two-factor authentication (2FA).
You are in full control of permissions
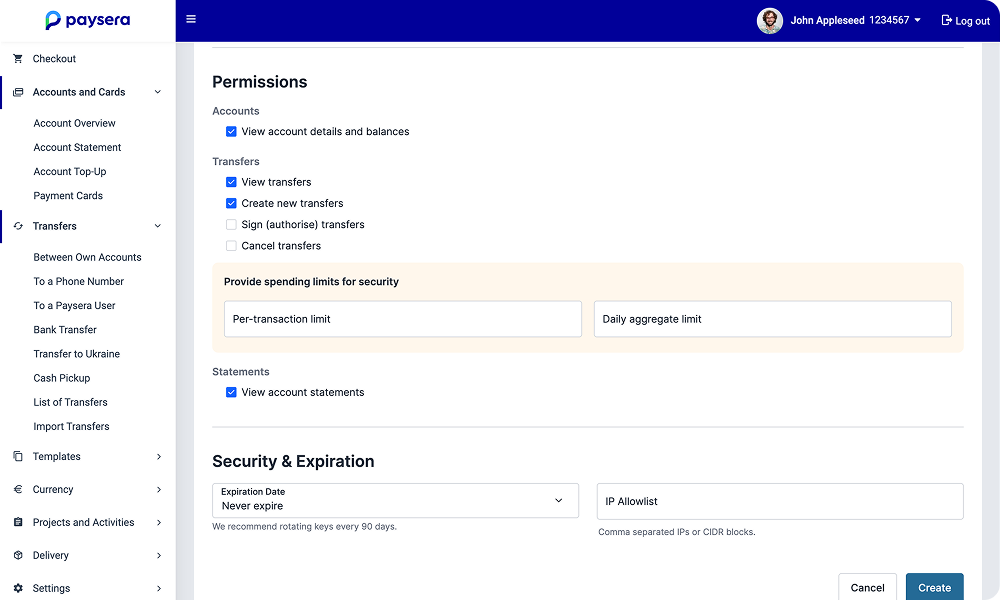
You set the limits for every token yourself:

Accounts
Choose which accounts the token can see and access.

Rights
Allow the token to read data (balances, statements) or to prepare draft payments.

Expiry date
the token will stop working automatically on the date you set. We recommend 90 days

IP addresses (optional)
Let the token work only from addresses you specify.
We recommend that you do not grant the signing right.
That is how our own skill works: the assistant can prepare a payment, but it cannot sign it.
The API usage section shows what the token is doing: the number of requests, how long they took and how many failed. It also lists the latest requests – when each one
ran, which token made it, what it asked for and how it ended. You can revoke a token with a single click, in the same place where you created it.
Who is this for?
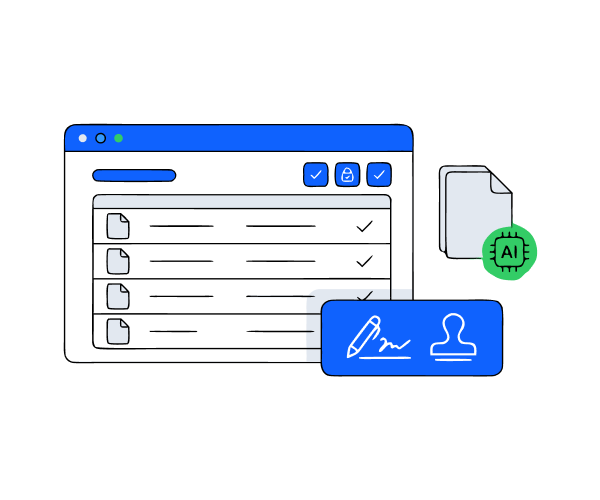
For Business
forget entering supplier invoices by hand. The AI assistant reads the invoices and prepares the payments, and your accountant or manager checks them and signs with a single click. Entering 10 invoices manually takes 15–20 minutes – AI does it in a matter of seconds.
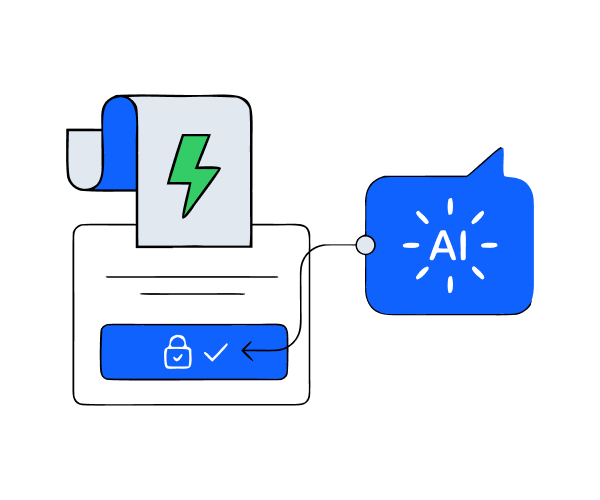
For Personal use
received a utility bill or another invoice? Send it to the assistant. It will prepare the payment, and all you have to do is confirm it in the Paysera mobile app.
How to create a token?
Log in to Paysera online banking.
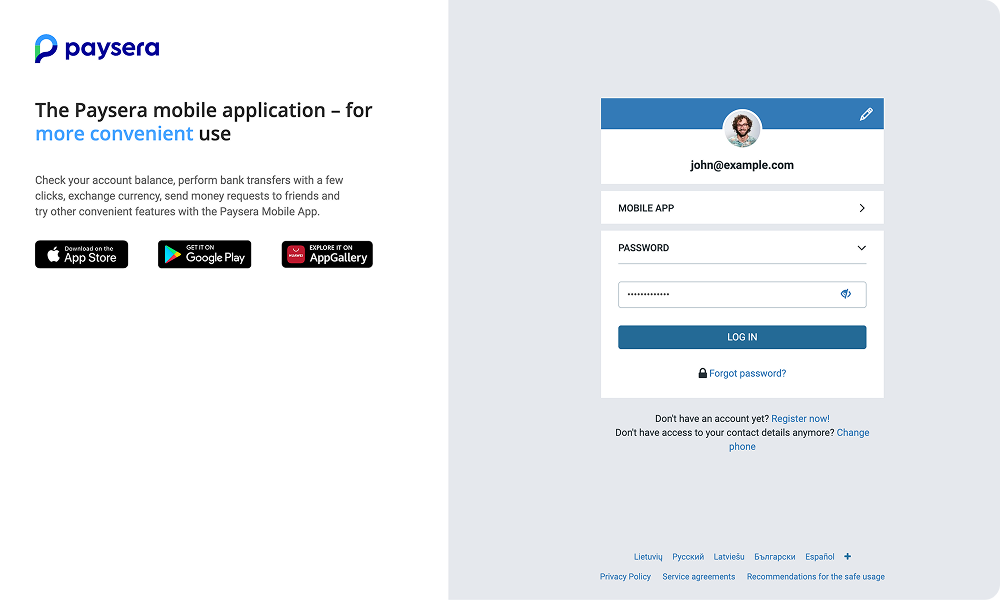

Go to Settings > Profile Settings.
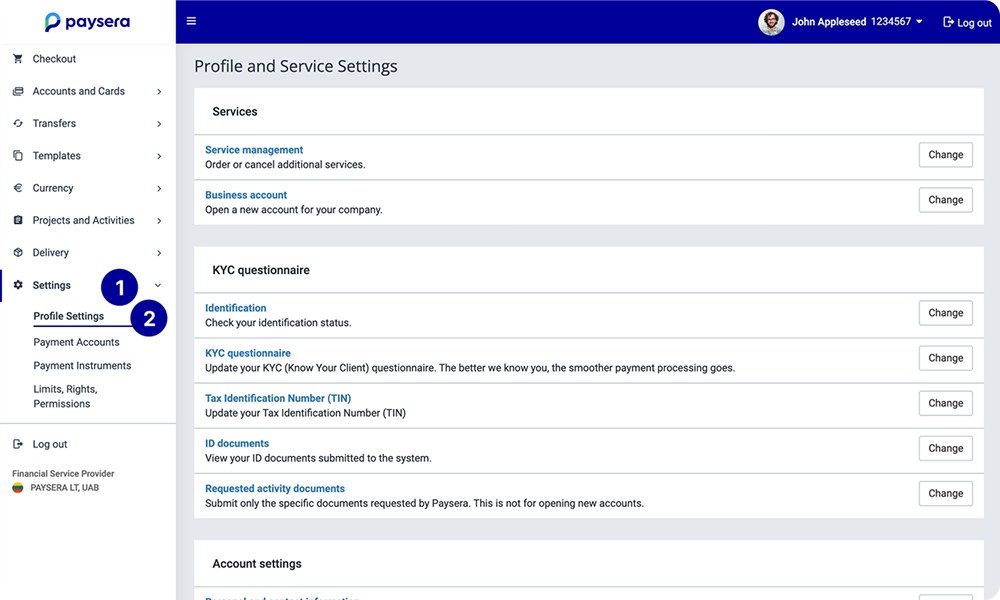

Under Security settings, find >i>Personal access tokens and click Change.
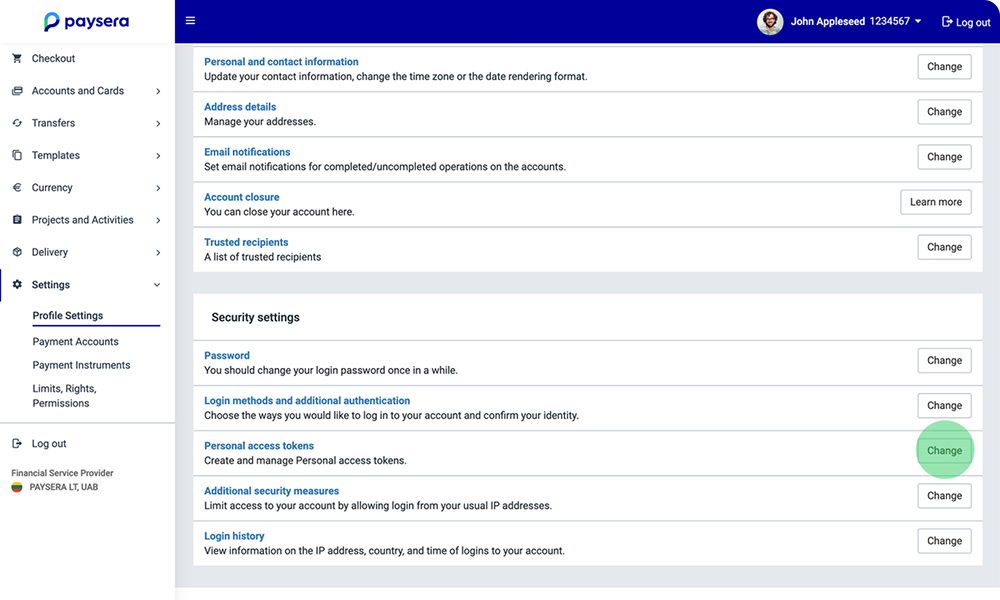

Create your token: choose the accounts, the rights, the expiry date, and — if you wish — the IP addresses.
How to connect an AI assistant?

The Paysera Payments skill works with Claude Code. Run two commands in your terminal:
claude plugin marketplace add paysera/skills; claude plugin install paysera-payments@paysera-skills

Save your access token on your computer ~/.config/paysera-payments/token.

In the skill's create-payment.py file, set the number of the account you pay from and the name the beneficiary will see as the payer.

Give the assistant an invoice and ask it to prepare the transfer. It prepares a draft, and you sign it in the Paysera app.

The skill's code is public — read it before you install: github.com/paysera/skills
FAQ
The token is sent as an Authorization: Bearer
Build it yourself using the documentation examples (curl, PHP, Python, JavaScript) https://developers.paysera.com/guides/personal-access-token
or use the ready-made paysera-payments skill: github.com/paysera/skills